Basic Setup
After installing the Tag CICD Module, you'll need to perform some basic setup to start using its features. This guide walks you through creating your first tag export/import configuration.
Accessing the Configuration Manager
The Tag CICD Module provides a configuration manager that allows you to create, edit, and manage your tag export/import configurations.
From the Designer Toolbar
You can access the Configuration Manager from the Tools menu via Tools > Tag Export Manager:

Creating Your First Configuration
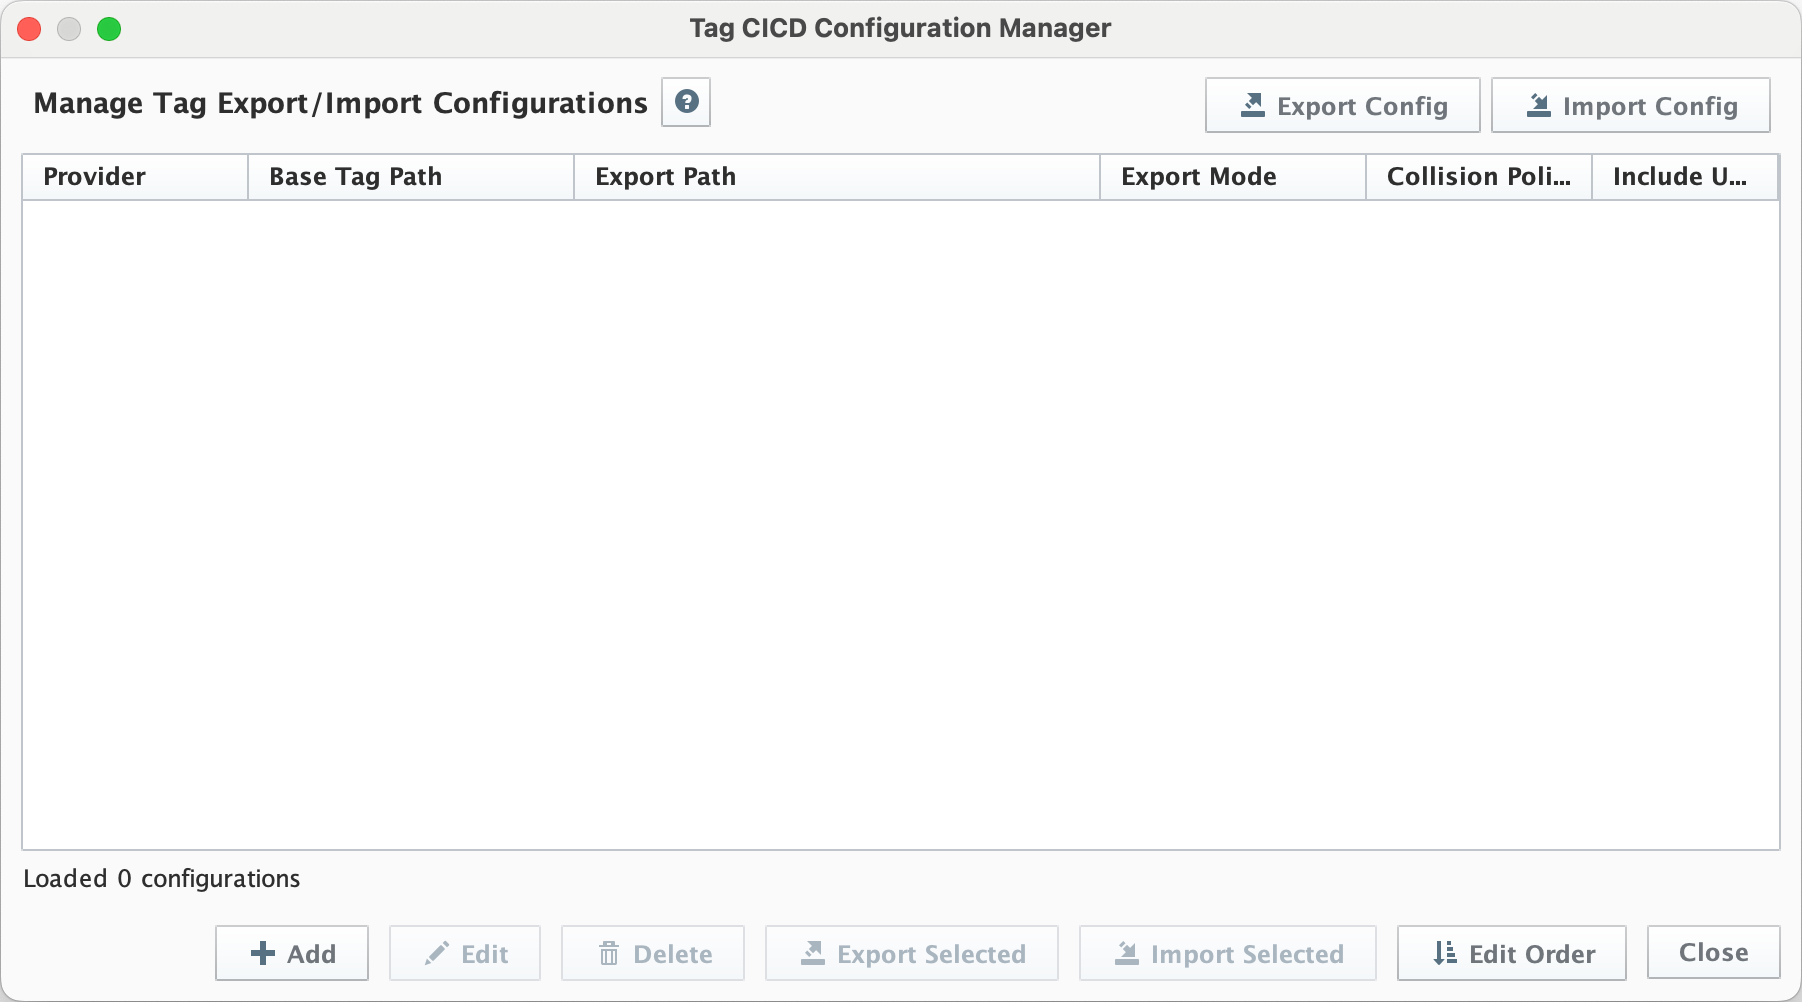
Once the Tag Configuration Manager is open, you can create your first export/import configuration:
-
Upon opening the Tag Configuration Manager, you will see a list of existing configurations (if any). If this is your first time, the list will be empty.
-
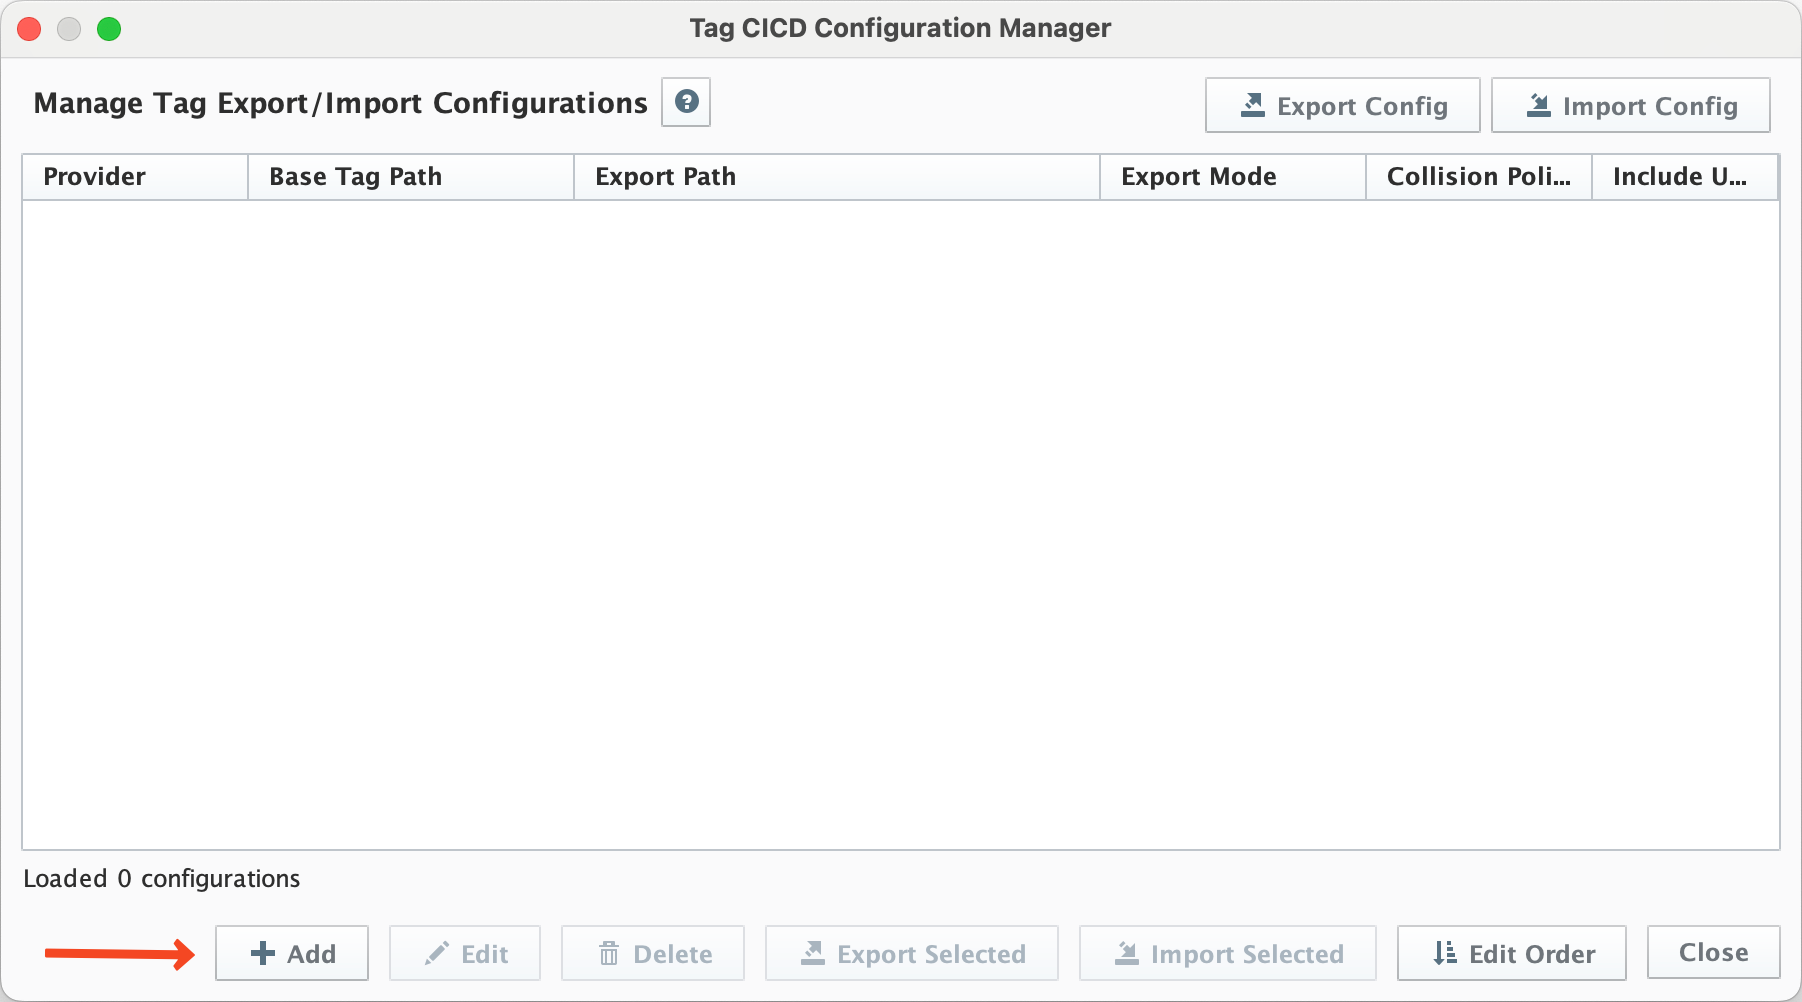
Click the Add button in the configuration manager dialog:
-
The Tag Configuration Editor dialog will appear:

-
Fill in the configuration details:
- Provider: Select the tag provider (e.g., "Example")
- Base Tag Path: Select the base tag path for the export/import from the Tag Tree Provided.
- Export Path: Enter the file path where tags will be exported to or imported from, This is relative to the Ignition Gateway's file system. (e.g.,
/usr/local/bin/ignitionon Linux.) - Export Mode: Select one of:
- Single JSON File: All tags in one file
- Individual Files: Separate file for each tag/udt/folder
- Structured Files: Folder structure with
tags.jsonandudts.json
- Collision Policy: Choose how to handle tag conflicts during import:
- Abort (a) - Aborts the import if duplicate tags are found.
- Merge (m) - Merges properties of existing tags with those being imported. This is useful for updating tags without losing existing properties.
- Overwrite (o) - Overwrites any tags in the folder that have the same name as tags being imported. Note this a complete overwrite of the tag.
- Delete and Replace (d) - Deletes all tags in the folder before importing. This is useful for completely replacing a folder's contents.
- Export Provider Root: Check this to export the provider root and deselect everything on the browse tree.
- Include UDT Definitions: Check this to include UDT definitions from the
_types_folder, when Export Provider Root is selected.
-
Click Add to save the configuration
Understanding the Configuration Interface
The Tag Configuration Manager shows all your saved configurations in a table:

Key elements of the interface include:
- Provider Column: The tag provider for this configuration
- Base Tag Path Column: The starting point in the Tag Tree for export/import operations
- Export Path Column: The gateway file system location for tags
- Export Mode Column: The format used for export/import
- Collision Policy Column: How tag conflicts are handled
- Include UDT Defs Column: Whether UDT definitions are included (When exporting the provider root)
- Warning Icons: Indicate potential issues, such as overlapping export paths
Running Your First Export
To export tags using your new configuration:
- Select the configuration in the table
- Click the Export Selected button
- The module will export the tags to the file system
tags/
├── Folder1/
│   ├── tags.json
│   └── udts.json
├── Folder2/
│   └── ...
└── _types_/
    └── udts.json
Running Your First Import
To import tags using your configuration:
- Select the configuration in the table
- Click the Import Selected button
- Confirm the import operation in the dialog that appears
- The module will import the tags
Managing Multiple Configurations
You can create multiple configurations for different tag providers, paths, or export formats:
- Click Add to create additional configurations
- Use Edit or Double-Click to modify existing configurations
- Use Delete to remove unwanted configurations
The order of configurations matters for imports, as they will be processed in the order shown in the configuration manager. You can reorder configurations by:
- Click Edit Order
- Drag and drop configurations to change their order
- Click Save Order when done
